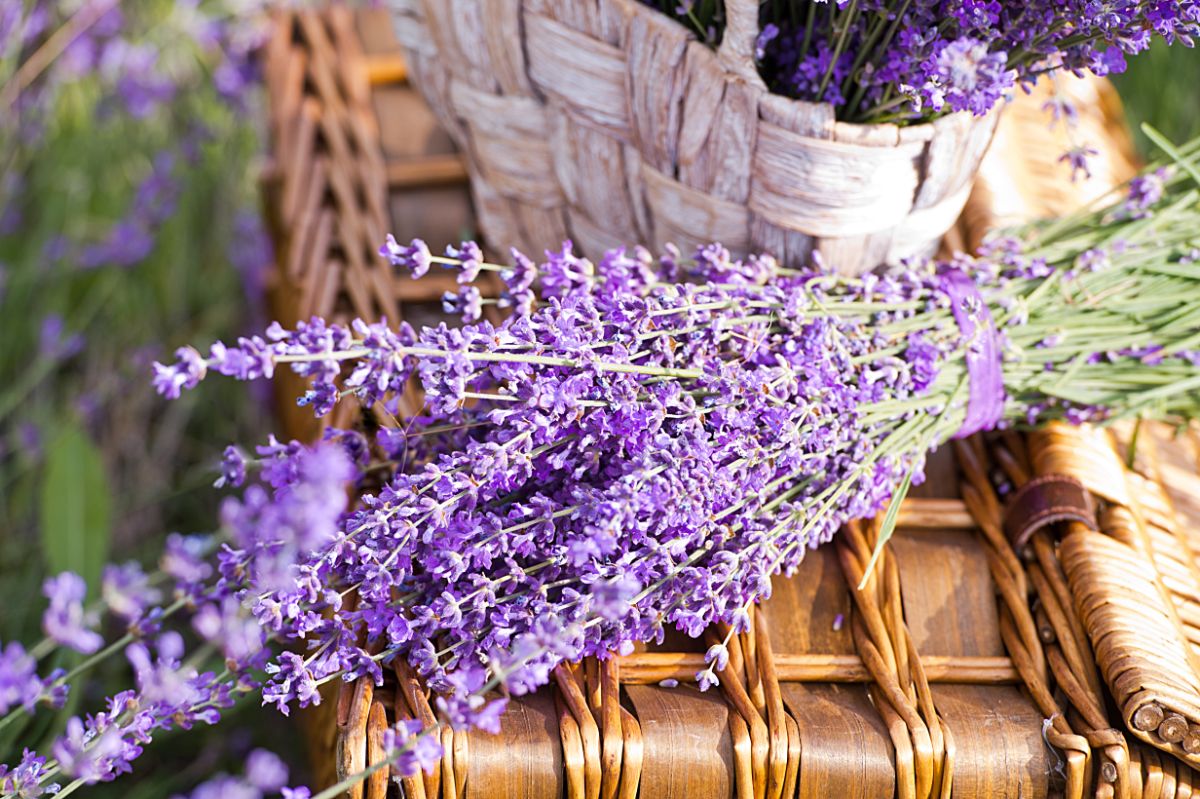
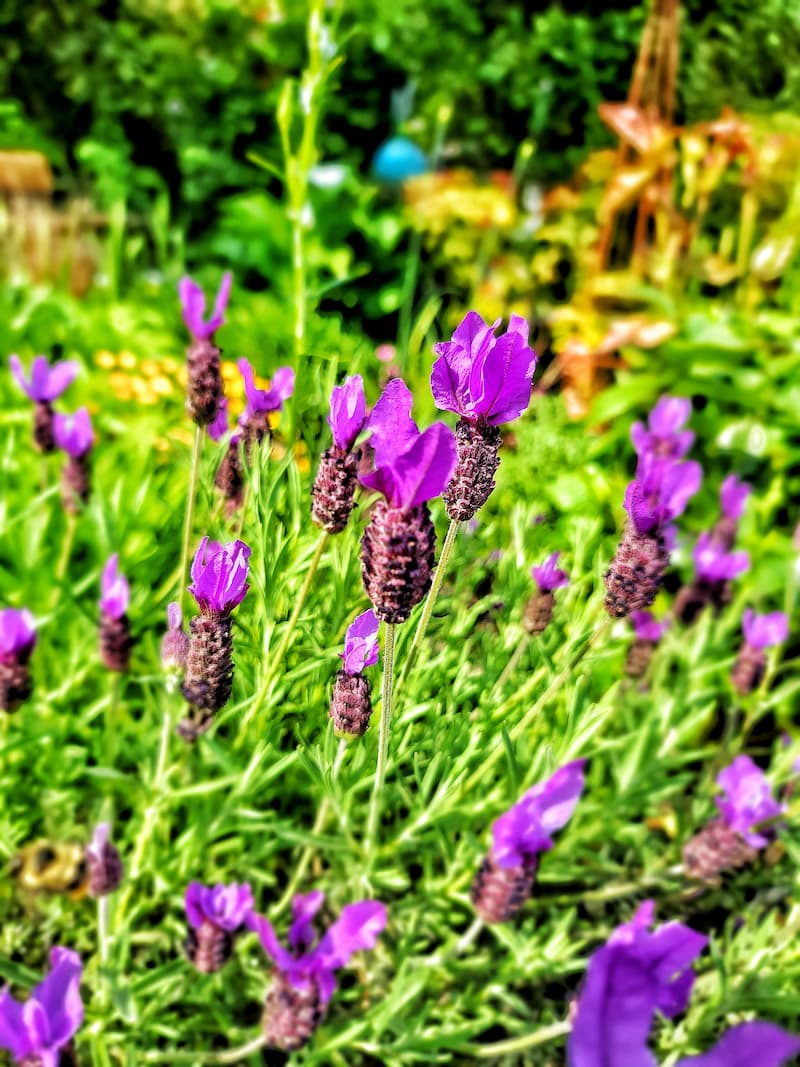
Lavender is a beautiful and fragrant herb that is popular for its soothing aroma and diverse uses. While you can purchase lavender plants from a nursery, propagating lavender from cuttings is a cost-effective and rewarding way to expand your garden. In this comprehensive guide, we will walk you through the step-by-step process of propagating lavender from cuttings, enabling you to grow your own lavender plants and enjoy their beauty and fragrance for years to come.

Understanding Lavender Propagation
Before diving into the process, it’s essential to understand how lavender plants propagate naturally. Lavender can be grown from seeds, but cuttings offer a more reliable method. Lavender cuttings are essentially sections of the plant’s stems that can be rooted to develop into independent plants. This method ensures that the new plants will inherit the characteristics of the parent plant.
Choosing the Right Time
Timing is crucial when propagating lavender from cuttings. The ideal time is during spring or early summer when the parent plant is actively growing. Aim to take the cuttings when the plant is in its vegetative stage, which is before it starts producing flowers.

Selecting Healthy Lavender Cuttings
To ensure successful propagation, select healthy and disease-free lavender plants as the source for your cuttings. Look for strong stems with vibrant green foliage. Avoid using stems that have started to flower, as these are less likely to root successfully.
Preparing the Propagation Medium
Creating a suitable rooting environment is vital for successful propagation. Lavender cuttings thrive in well-draining soil or a soilless mix. Combine equal parts of perlite, vermiculite, and peat moss to create a light and porous medium that promotes root growth.

Taking Lavender Cuttings
Using a sharp and sterile pair of pruning shears, cut 4-6 inch (10-15 cm) long sections from the parent plant. Make sure each cutting has at least two sets of leaves at the top and remove any lower leaves that may come in contact with the propagation medium.
Rooting the Cuttings
Dip the cut ends of the lavender cuttings into a rooting hormone powder to enhance root development. Make small holes in the propagation medium and gently insert the cuttings, ensuring that at least one set of leaves remains above the surface. Mist the cuttings with water and cover them with a plastic bag or a propagator to maintain high humidity levels.
Transplanting Lavender Cuttings
After several weeks, the cuttings will develop roots. To test for root growth, gently tug on the cuttings. If you feel resistance, it indicates that roots have formed. Once rooted, transplant the cuttings into individual pots filled with well-draining soil. Gradually acclimate the plants to the outdoors over a period of a few weeks.
Caring for Newly Propagated Lavender Plants
Newly propagated lavender plants require proper care to establish themselves. Place the potted plants in a sunny location where they will receive at least 6-8 hours of sunlight daily. Water the plants moderately, allowing the soil to dry out between waterings. Avoid overwatering, as lavender plants are susceptible to root rot. Prune the plants lightly to encourage bushier growth.
Troubleshooting Common Issues
Propagation may encounter challenges, including issues like rotting cuttings or unsuccessful rooting. This section will provide troubleshooting tips to overcome common problems such as fungal diseases, poor root development, and pest infestations.
Conclusion
Propagating lavender from cuttings is an exciting and cost-effective way to expand your lavender garden. With proper knowledge and care, you can successfully propagate lavender and enjoy its beauty, fragrance, and versatility in various applications. By following the step-by-step guide outlined in this article, you’ll be on your way to creating a thriving lavender garden of your own.


